Sunday, July 7, 2013

Mojo Monday 300

It has been so long since I have had the luxury to make a card! I am so excited that I finally have time (kind of) to do some crafty projects. Here is the Mojo Monday layout that I followed:


I have a close friend who has a lot of things going on right now; making a card is one of the best ways I can think to show her that I care. That is why I love making cards so much. It is so much more personal than buying one. (and so much more fun!)


Tuesday, January 29, 2013

love always

I got an early start on the Mojo Monday card of the week and am very excited to post my creation today. I did two versions of the card.


Friday, January 18, 2013

Hot Pink Thank You

A few months ago I bought this hot pink paper that I have been really excited to use. When I saw this week's Mojo Monday challenge, I decided it was finally time.


Monday, January 14, 2013

Happy Birthday Grandma!

This week I was really excited about competition week at Mojo Monday. I really liked the sketch and was excited to try it out. Sadly, I didn't get time to work on my card until it was already too late to enter. Still, here is the card that I made for my grandma, whose birthday is later this week.


I thought it would be appropriate to make a fun, colorful card for a fun, vivacious woman. I love my grandma!

Monday, January 7, 2013

Mojo Monday 274

After a long and much needed hiatus from cardmaking, I pulled out my paper last night to make a card for my brother. I was excited to do the Mojo Monday 274 sketch, although I didn't get it finished in time to post it to their website. Here is the card that I came up with. I hope he likes it!


Supply list:
  • cardstock from Close to My Heart "Cruisin" line
  • light orange ribbon that I got from a garage sale (brand unknown)
  • light orange brads from Paper Studio
  • Fiskars "Get Well Soon" stamp
  • StazOn ink in Timber Brown
(My apologies for the low quality picture. I took it with my phone.)

Monday, December 3, 2012

Operation Write Home

Things have been really busy around here lately! Over the past month and a half, I have sold cards in two craft fairs, bought a house, and packed up all of our earthly possessions in preparation for moving day (T-5 days and counting). I am just taking a few minutes out of my busy schedule to post about an awesome cause that I just discovered.

Operation Write Home is a non-profit organization that sends thousands of handmade cards and letters of encouragement to deployed troops all over the world. The cards are left blank so that soldiers can write letters home. I am so excited to donate some of my cards to this wonderful cause!

To learn more about how it works, visit http://operationwritehome.org/

Tuesday, October 23, 2012

Mojo Monday 264

Here is another Christmas card for Mojo Monday! Even though I love using traditional Christmas colors, sometimes it is fun to mix it up and use different variations.


Tuesday, October 16, 2012

Halloween Cards

I know this is a bit of a spoiler for some of my friends and family who will be getting Halloween cards later this month, but I have been saving the pictures and just decided to post them now - especially because I am going to be very busy making Christmas cards for the next couple of months.


Mojo Monday 263

So, I am planning on entering some craft shows this winter and selling some of the cards that I have been making. I am very excited about it, but a little nervous because I have so much work to do. With Christmas cards on my mind, I couldn't help but stay with the festive theme when I started on the Mojo Monday card for this week:


Sunday, October 7, 2012

Mojo Monday 261

This week for the Mojo Monday sketch, I had two major firsts. I used my first stamp and I made a card in the "shabby chic" style for the first time. Because it was my mom's birthday card, I wanted to wait to put it up until after I gave it to her this evening. Unfortunately, I didn't realize that the challenge ended an hour ago. Even though I can't win the contest this time, I am still posting this card.


Wednesday, September 19, 2012

Modern Thank You

After I finished the car seat canopy, I was just so excited about how cute it turned out that I decided to make a card to match. I used the Mojo Monday sketch again. I really like how the geometric shapes and colors that I used made this card look very modern. I also made a Thank You card that has the exact same colors and pattern. Here they are:


Car Seat Canopy

Yesterday, I spent a couple of hours making a car seat canopy for a friend who is going to have a boy. This is the second one I have made and it definitely went faster the second time. I am so happy about the cute fabric that I found at Hobby Lobby.

Supply List:

  • 1 yard + 4 inches of two coordinating fabrics (2 yards 8 inches total)
  • thread
  • 4 buttons (for decoration)
  • about 6 inches of velcro

Of course, I washed the fabric before beginning to avoid potential shrinking in the future. I cut 4 inches off of the longest edge of the fabric and ensured that each piece measured 35"x42". Then I ironed it out and rounded the corners with the fabric front to front so that the shape of each piece of fabric would be identical.


I pinned around the whole thing so that the fabric wouldn't slide as I sewed it.

\

Then I sewed around the entire thing, leaving a few inches open so I could turn it inside out. After turning it inside out, I ironed it again and sewed around the outer edges - a little less than 1/4" seam.


I made the handles by sewing two 4"x9" pieces of fabric together. They should be positioned about 12 inches from the back of the pattern and about 19 inches from the sides. It is best if they are about 5 1/2 inches apart (leaving space for the handle). I sewed the velcro on so the handles would close around the handle of the car seat and added the buttons as a decoration.


I sewed the front corners up so they wouldn't drag on the ground and added buttons there as well.


Here is the finished car seat canopy. I really like how it turned out.


Mojo Monday 259

I bought my very first ink pad ever for this card! It is a Tim Holtz distressing ink pad. I felt like it was a really significant moment for me because I have been intentionally resisting buying them for a long time. And, of course, I had my usual moment of "frantic yearning" as soon as I got home. Does anyone else get that? Sometimes after I buy something, I get home and I feel like I need to drive right back to the store and buy it in every color, or buy all of the matching accessories, or something equally {crazy} - especially when you live on the kind of budget that I live on. But I resisted. At first I told myself that I would just wait until the next day so I could use my 50% off coupon again. By the next morning I was able to quell the urge to buy another one until I have a specific project that justifies the purchase.

Anyway, I actually used this week's Mojo Monday sketch to do a few different cards. The first card that I made was a Halloween/Autum one and I love the combination of colors.


I cut out a little owl from my paper to use on the inside of the card. Lately I have noticed that a lot of people in the crafty blogging world decorate the inside of their cards to coordinate with the outside. I decided I would try it out too.


A few weeks ago, I asked my mom to show me how to do distressing with ink. I think I could still use a little practice, and maybe some sort of sponge or something, but I still feel really good about how this turned out.


Sunday, September 16, 2012

The Sweetest Thing

I found a new challenge. It is called the Sweet Sunday sketch challenge. I just finished a few scrapbook pages and had some leftover paper that I really liked so I set it aside to make a new card. The layout of this challenge just went perfectly with the paper that I had.


Saturday, September 8, 2012

Similar Cards

After I finished that first sketch for Mojo Monday this week, I decided to use up the rest of the paper scraps that I had left. I created a few more versions of the same sketch and I really like how they turned out.


Mojo Monday 257

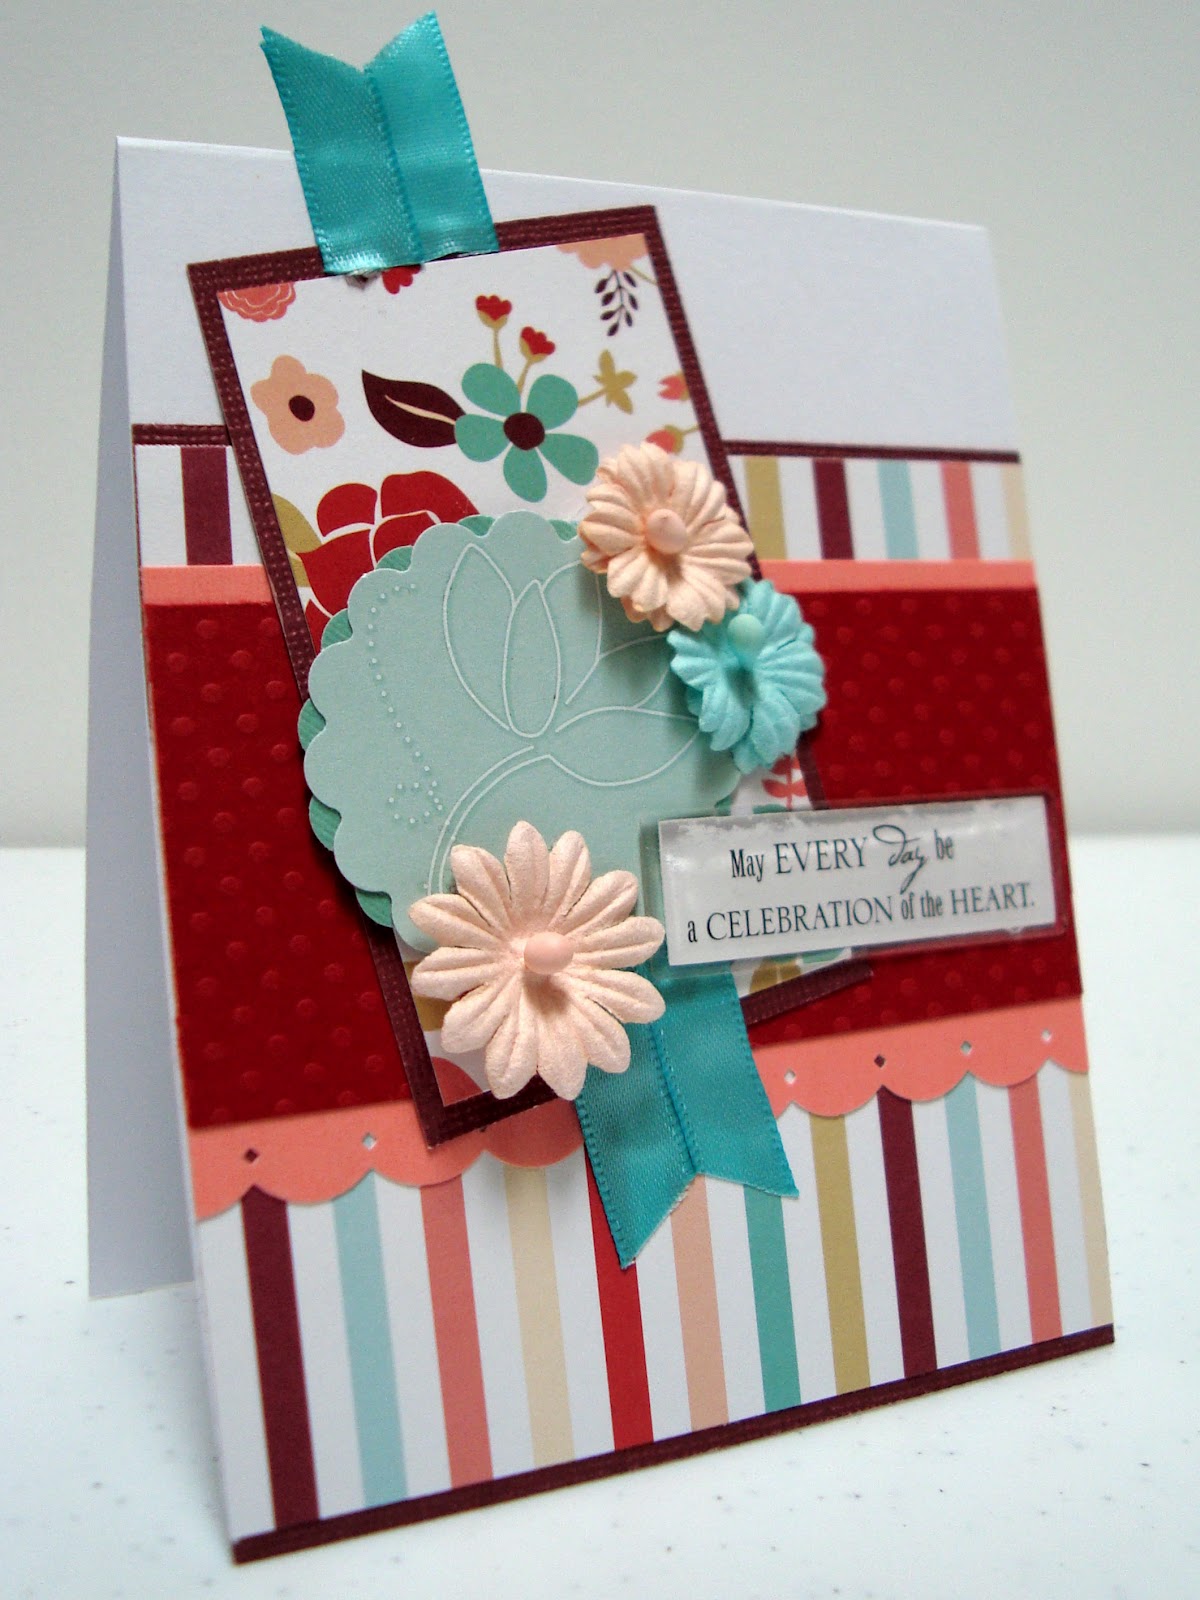
This week is contest week for Mojo Monday. Even though it has been a busy one for me, I have been thinking a lot about how I would use the sketch. I finally decided to use some leftover paper from Ashlyn's baby book. Because it was from her book, I wanted to use it in a card that would, in some way, honor her memory.Whenever I think about Ashlyn, I think of purity, gratitude, kindness and love. I felt like the sentiment that I found was perfect: "May every day be a celebration of the heart."


Supply list:
  • paper: scraps (American Craft brand)
  • flowers: Recollections
  • sentiment: Cloud 9 Design, Celebrate expoxy stickers


Thursday, September 6, 2012

Use the Computer

Crafting on a Budget: Tip #4

Even though stamps are a pretty big deal in the card making and scrapbooking world, you can actually make a lot of really cute cards without using them. See, the biggest problem with stamps is that you have to buy a new set for every single occasion... and buy several different colors and types of ink to match all of your different projects... and maybe buy embossing ink and a special little heat embossing tool... and sometimes even buy special punches so that you can cut out the shapes that you just stamped without having to use scissors... and then find a place to store everything.

So, if you are like me and don't have any stamps, you can create some of the cutest cards by simply using Microsoft Word, the internet, and maybe even Photoshop (if you decide to get really fancy). Because Word has so many different fonts, colors, clipart, and other options, you can create a lot of your own sentiments and size them perfectly. Just print them out on white or cream-colored cardstock and you are good to go. Every single sentiment that I have ever used is either a sticker (bought at 40% off, of course), or straight from the computer.

For Father's Day this year, I got my husband a motorcycle (that's how much I saved on scrapbooking supplies...jk) and I wanted to make him a matching motorcycle card. I found a card that I liked on the internet. She used a motorcycle stamp. All I did was google "motorcycle clip art" and look through the images until I found one that I liked. Maybe it took a few minutes more than a stamp would have, but it was free and I had complete control over the color and size of the image.


One Week Old

I have been spending a lot of time working on Connor's baby book lately. I am doing one page for each week that he was in the NICU, so here is week one:


Maybe I should add in some journalling.... I just like the way it looks right now. But I guess the story wouldn't be complete without telling how I went to about 6 different stores looking for a preemie sized St. Patrick's Day outfit so he would have some green to wear that day. When I couldn't find anything at another store, I went to Walmart as a last resort. Who would have guessed that I would find it at Walmart - even when I couldn't find one at any of the baby-specific stores I had visited.

Thursday, August 30, 2012

Save (and Use!) your Scraps

Crafting on a Budget Tip #4

One thing that many of the most dedicated crafters do is that they save their scraps. When I started my first scrapbook, I decided that I would save all of my scraps. I used three different sized plastic bags and separated my extra paper according to size. But, guess what: a year later I still had all of the same scraps. I hadn't saved any money yet!

So, just a few weeks ago I went through all of my scrap paper again. I threw away a lot of it and only kept scraps that were actually big enough to use. Then, I used some of the scraps! I need to do the same with the scrap fabric that I have around here.

Maybe it seems ridiculous that I would go so long without using a single scrap, but I get so excited to use my new paper that it doesn't even occur to me to check the scrap bag. Really, it is only worth saving your scraps if you make a point to pull them back out and use them in projects. Maybe make up a filing system so you don't have to go through every single scrap to see if you have one in a certain color. Whatever you do, make sure that you use those pieces of paper, ribbons, fabric, and other supplies!

Tuesday, August 28, 2012

Focal Point

Card Making Basics Tip #3

A card is more visually pleasing if there is a specific focal point.

The concept of having a focal point can relate to color, placement, size, and shape of the elements that you use in a card. For example, for Independence Day I made a card (I admit that it isn't my best card, but it is a good illustration of this point) using muted colors. I wanted it to be simple so I chose to place a big blue star in the center of the card; after I assembled everything, the card was totally boring. It just didn't look good.

I put the card aside for a day and when I came back to it, I realized that it lacked a focal point. The size of the star wasn't enough to make the card look "finished." When I added white lettering and brads, the card looked a lot better: